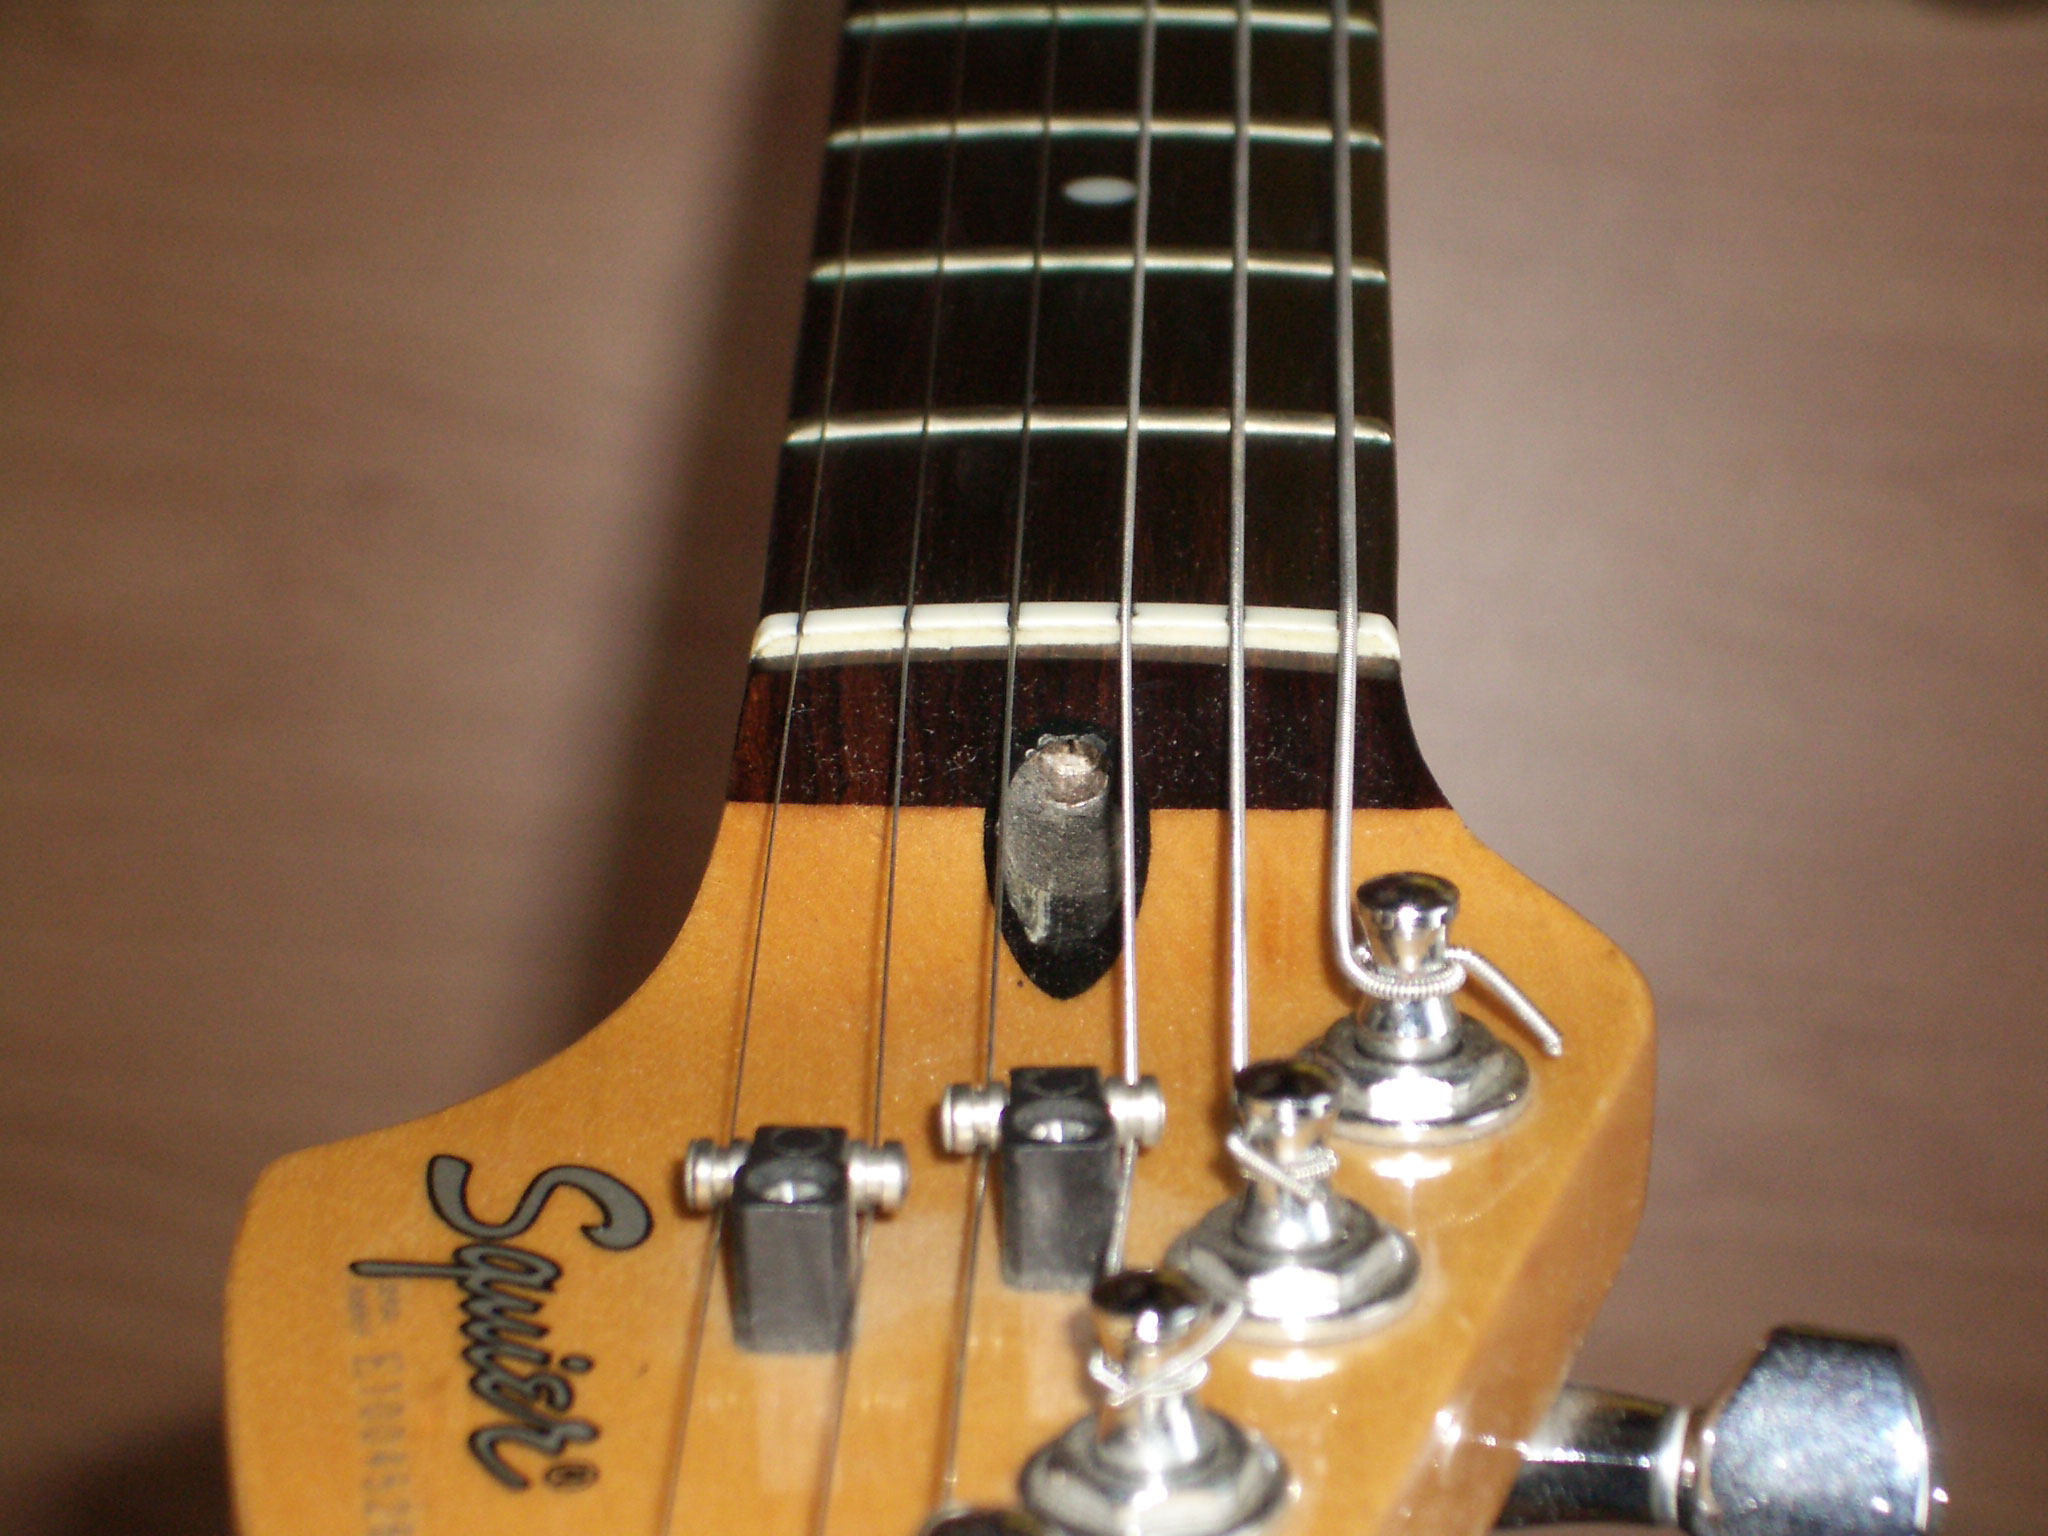
You pick up your favorite guitar, and it just feels… off.

Photo: TT Zop, CC BY-SA 2.0, via Wikimedia Commons
You know the feeling. You’re lost. You tweak a saddle, play a chord, and try to remember what it felt like a minute ago. Was that better? Worse? You have no anchor point, no objective truth. You’re locked out of your own instrument’s potential, and it’s a uniquely sad and deflating feeling. You’re relying on guesswork—or worse, pocket change—and it’s a maddening cycle. But what if you could trade that guesswork for certainty, all for the price of a couple of packs of strings?
📚 The Master’s Tool for Objective Truth
Dan Erlewine doesn’t guess. He measures. In this essential video, he shows the simple, professional tool that ends the setup guessing game forever, and turns the “dark art” of a perfect setup into a repeatable science.
📏 Why It’s Not Just a Ruler
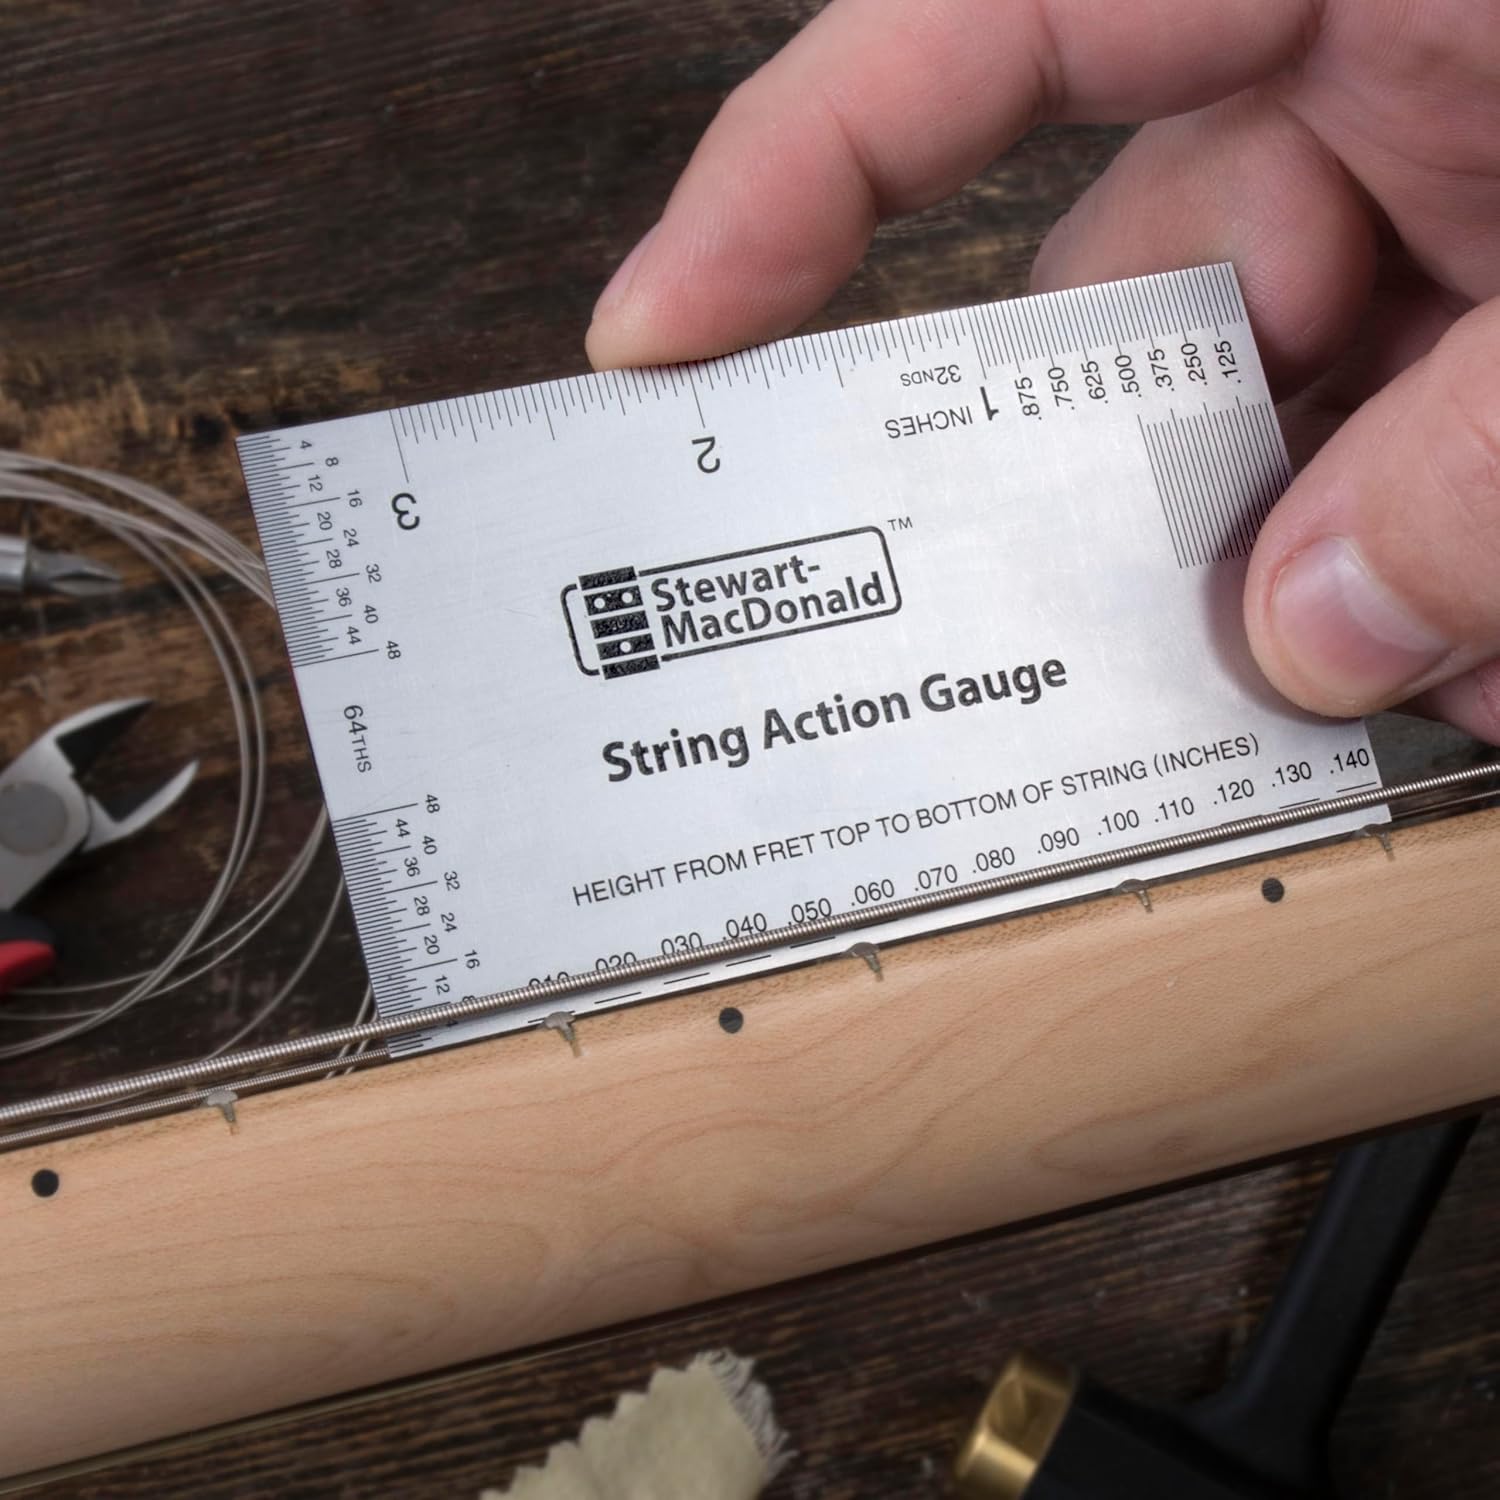
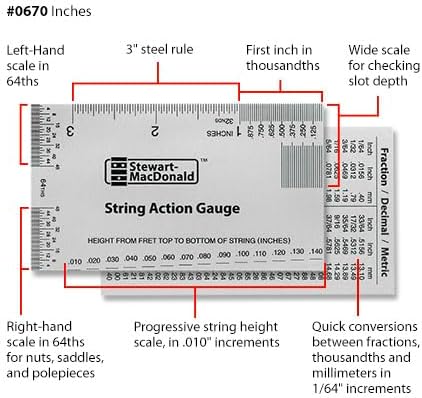
I used to try and use a standard 6-inch ruler for setups, and it was always a fight. The StewMac String Action Gauge is different by design, built by luthiers for this exact job.
- It Eliminates the “Teeter-Totter”.
A standard ruler balances on a single fret, making it wobble and “teeter-totter.” As Dan shows, this gauge rests across several frets, creating a stable, unshakeable base. This guarantees you get a true, square reading every time. - Precision You Can Actually Read.
Forget thick, fuzzy millimeter markings. This gauge is marked in thousandths of an inch—the language of luthiers—with graduations for every 10,000th. The markings are etched and blackened, making them incredibly easy to read at a glance.
🛠️ The “Swiss Army Knife” for Your Bench
This is more than a one-trick pony. It’s a fundamental tool that quickly becomes indispensable for multiple jobs, adding immense value for its low cost.
- Perfecting Pickup Balance: By pressing a string down at the last fret, you can use the gauge to accurately measure the distance to each pickup pole piece. This allows you to balance the output of your pickups for a smooth, even tone across all strings.
- The “Save Your Settings” Trick: This is a pro-level move that prevents a huge headache. Before you remove a bridge for cleaning or repair, use the gauge to measure the height of the thumb wheels. Write it down. Now, you can reinstall the bridge, pre-set the height to your exact measurement, and avoid the “tune-detune-tweak” death loop.
- The Handy 3-Inch Ruler: And yes, it’s also just a great little ruler, perfect for quick jobs like measuring bridge stud spacing or nut width.

💰 The Smartest Investment on Your Bench
As an aspiring luthier, I can tell you this is one of a handful of truly essential tools. It’s foundational equipment, serving both the beginner doing their first string change and the semi-pro looking for consistency. Championing a low-cost, high-ROI tool like this is a no-brainer. It signals that we’re here to help you build our skills from the ground up, not just sell you expensive gear. This tool is the true starting point.
✨ The Payoff: The Power of Knowing Your Numbers
The first time you use this gauge to dial in a perfect .060″ action, a door opens in your mind. You feel useful. Something that seemed hard was actually simple. Those Fender or Gibson specs you used to see online? They were just vague numbers before. Now, they are a recipe you can follow. This cheap tool gives you the superpower of **replication and restoration**. You can now decode the “magic numbers” from your favorite guitar and clone that perfect feel onto any other instrument. You have the power of a pro, and you got it for less than the cost of a new pedal.
What are your ‘magic numbers’? Share your go-to action height at the 12th fret in the comments below!